A Compact Assembly Table for Glue-ups and More
When necessity meets clever design
My recent glue-ups have been an exercise in improvisation - using the table saw, workshop floor, or even palettes outside TinyTaller. None of these solutions were ideal, and my small workbench, typically crowded with ongoing projects, couldn't be tied up for day-long glue-ups.
In keeping with TinyTaller's philosophy of mobile, space-efficient solutions, I went searching for alternatives. Among the numerous glue-up jig videos I discovered, Nick from Workshop Companion's design stood out. His choice to call it an "assembly table" rather than a glue-up jig hints at its versatility.
Adapting the Design
When my frustration with makeshift solutions peaked, I decided to build a slightly scaled-down version of Nick's design. The materials were straightforward:
16mm MDF for the base structure
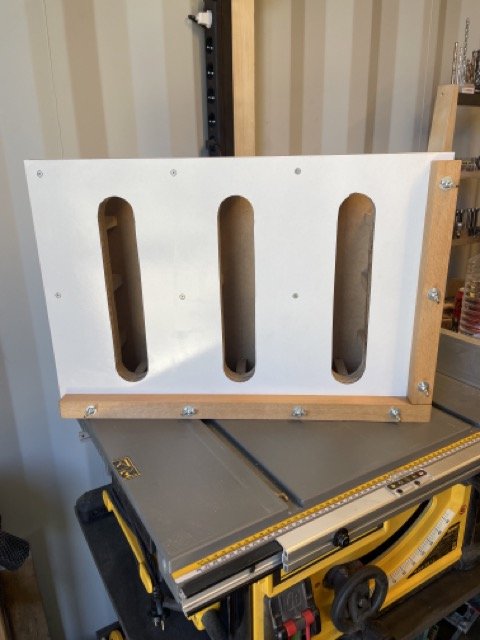
400x600x16mm melamine board for the top surface
30x30mm hardwood strip
While smaller than Nick's original, these dimensions suit my needs perfectly. However, working with my existing tools required some design modifications.
Design Modifications
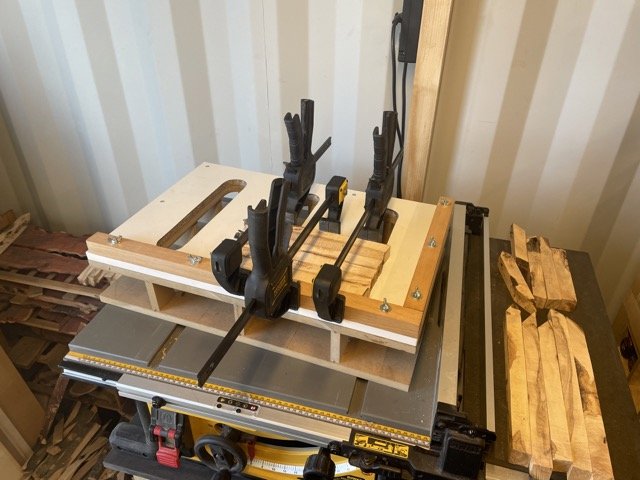
The most significant change came in the torsion box design. My one-handed clamps, while not ideal for glue-ups due to their tendency to bend, are what I have to work with. These clamps present two challenges:
Their tendency to bend during clamping
Larger end pieces requiring more clearance
To accommodate these limitations while avoiding a bulky structure, I needed 70mm of clamp clearance. Rather than following the original torsion box design with wholes for clamping all around, I opted for a modified box structure that maximizes strength while providing ample clamping positions.
Construction Details
The build process focused on strength and functionality:
Used flat dowels for robust joints in the base structure
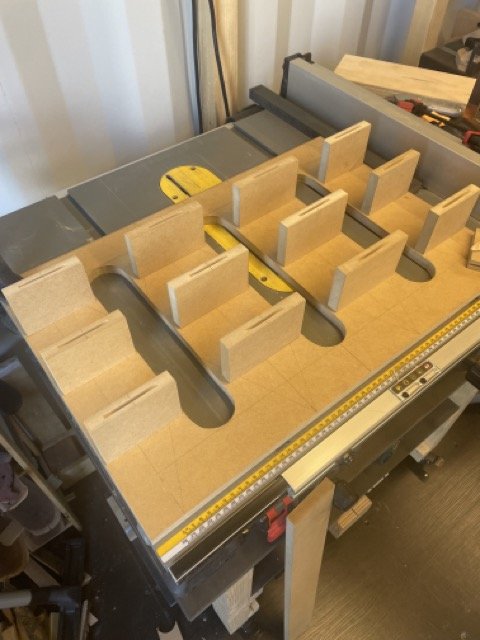
Created a template for consistent clamping holes
Rough-cut holes with a jigsaw, then refined with a router
Used a compression bit to prevent melamine damage
Made the top board replaceable by screwing it to the base
Added 30x30mm hardwood fences
Applied wax to both board and fences for easy glue removal
As I write this, the table is already proving its worth with its first glue-up clamped in place. For those interested in the original design that inspired this build, check out Nick's detailed video guide (linked below).
Inspired by Nick's Workshop Companion assembly table design.


