Two Fences: Building My Router Table Extension
Let's talk about fences—they're crucial whether you're working with a table saw, drill press, or in this case, a router table. A well-designed fence doesn't just make your work more precise; it makes it easier and safer. But my project had a unique twist: I needed to create a router fence that would integrate seamlessly with my DeWalt 7492 table saw, which already boasts one of the finest fences in its class.
The Design Journey
As with any workshop project, the options were plentiful. I could have gone the easy route and purchased a ready-made solution, but where's the fun in that? Instead, I dove into research, exploring both commercial products and fellow woodworkers' DIY solutions. My considerations centered around three key aspects:
Design constraints from my existing setup
Material choices ranging from all-wood to all-aluminum
Essential features like dust collection and T-tracks for accessories
The Sauter fence caught my eye as a commercial solution. While I admired its design, I wanted the satisfaction of building my own—with a few personal tweaks, of course. A fellow woodworker's video on replicating the Sauter fence provided valuable inspiration, though my version would take its own path.
Materials and Modifications
Here's what went into my fence:
50x50mm aluminum pipe (instead of the Sauter 60x60mm)
30x30mm aluminum T-track profile (instead of the Sauter 20x40mm)
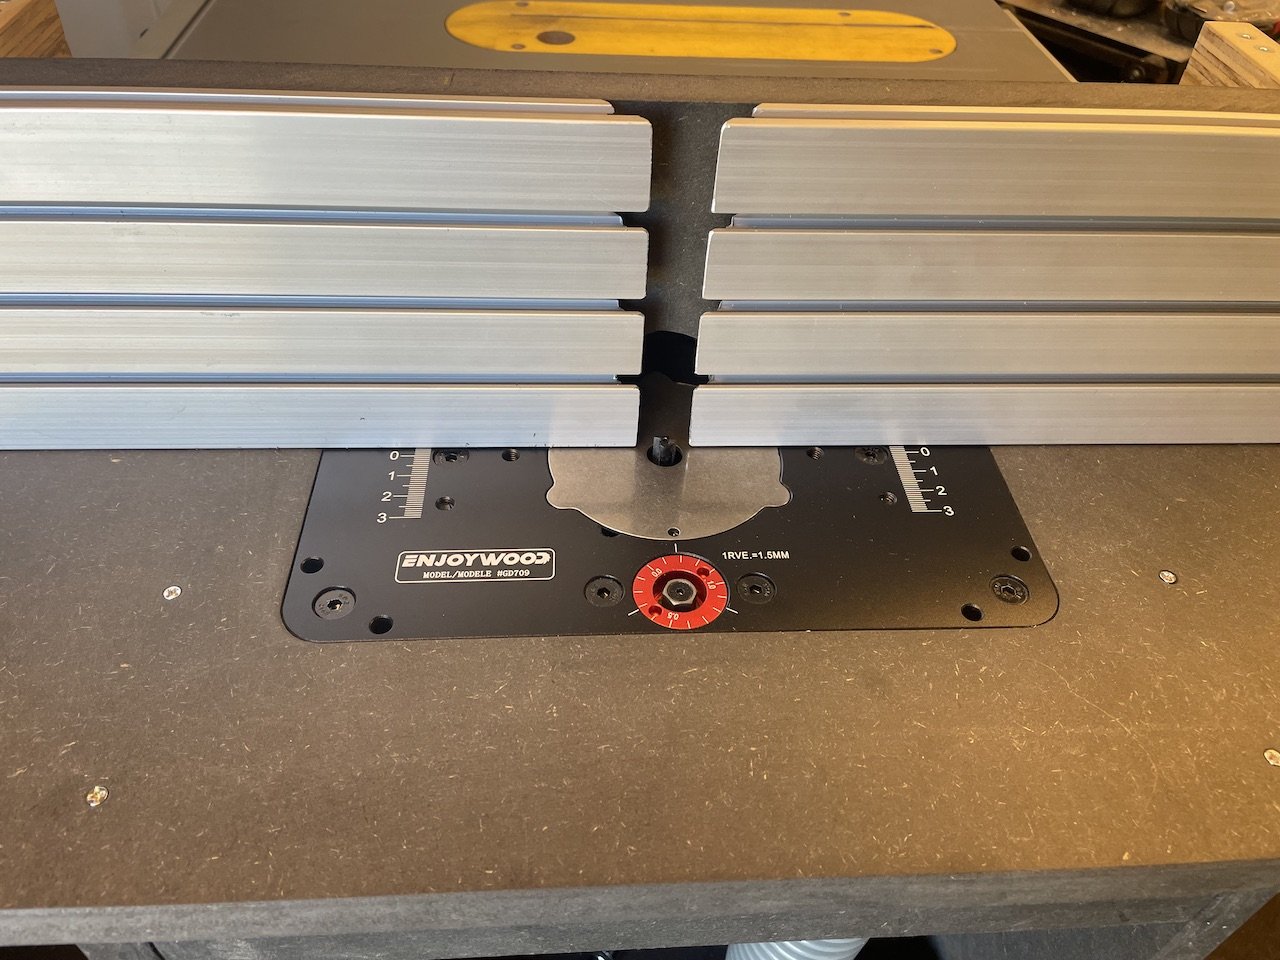
50x12cm aluminium fence profile with T-tracks
Plywood offcuts
19mm black MDF
40mm PVC pipe for dust collection


My material adaptations led to some happy accidents. Using the 50x50mm aluminum pipe and 30x30mm T-track profile created additional clearance, allowing me to mount the aluminum fence to the MDF backbone at a lower point. This prevented the fence from bending—a common issue in similar designs if mounted using the top slot. The 40mm dust collection pipe proved more than adequate, and the slightly smaller dimensions gave the fence a leaner, more elegant appearance.
The Build Process
The fence's backbone is the 50x50mm aluminum pipe, carefully sized to match the DeWalt fence length. I created four essential MDF pieces:
A solid end cap
An end cap with a 40mm hole for dust collection
Two internal supports: one solid piece near the bit opening for optimized airflow, and another with a 40mm hole to support the dust collection pipe
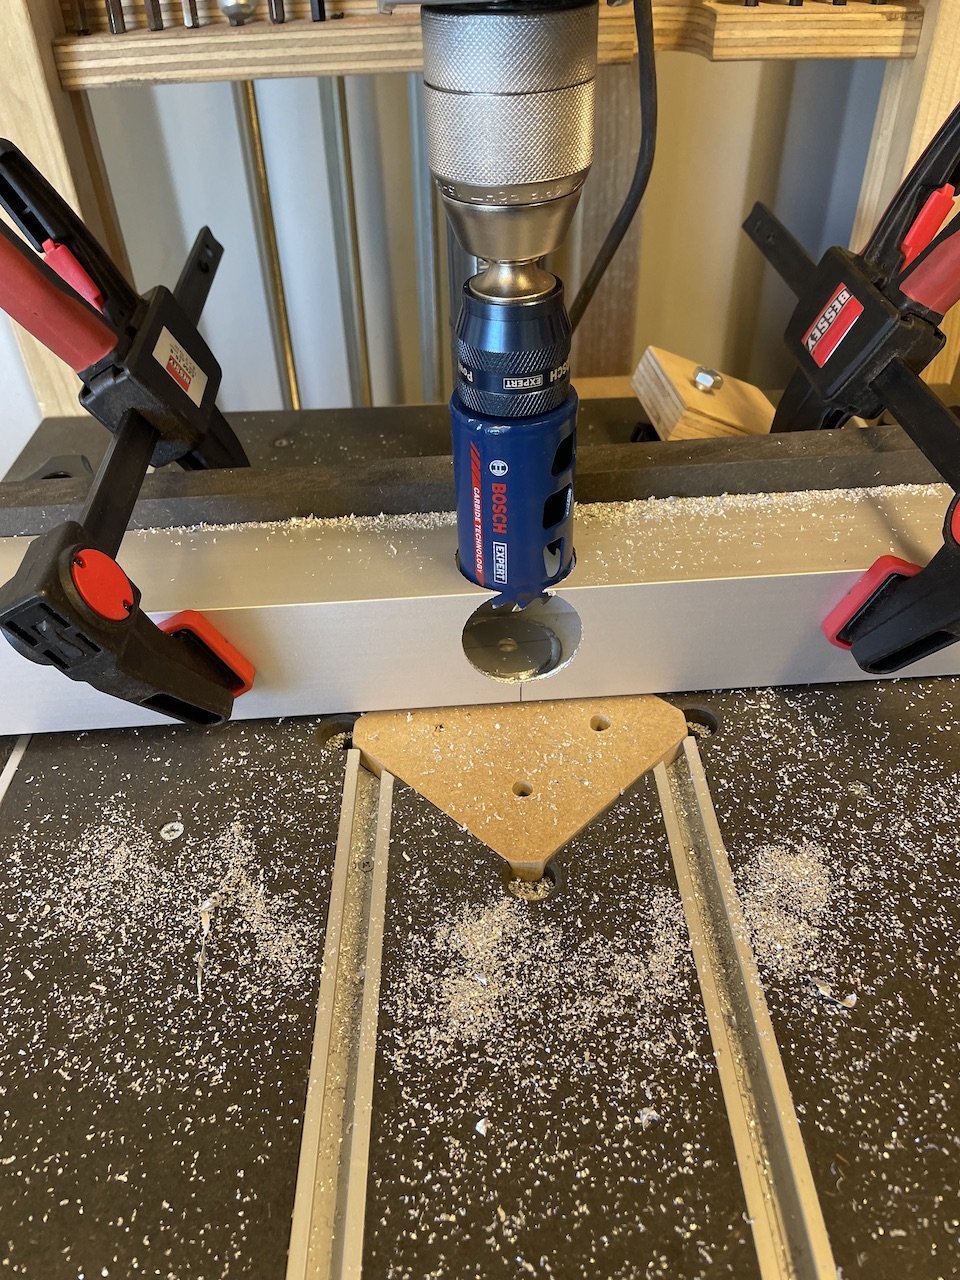
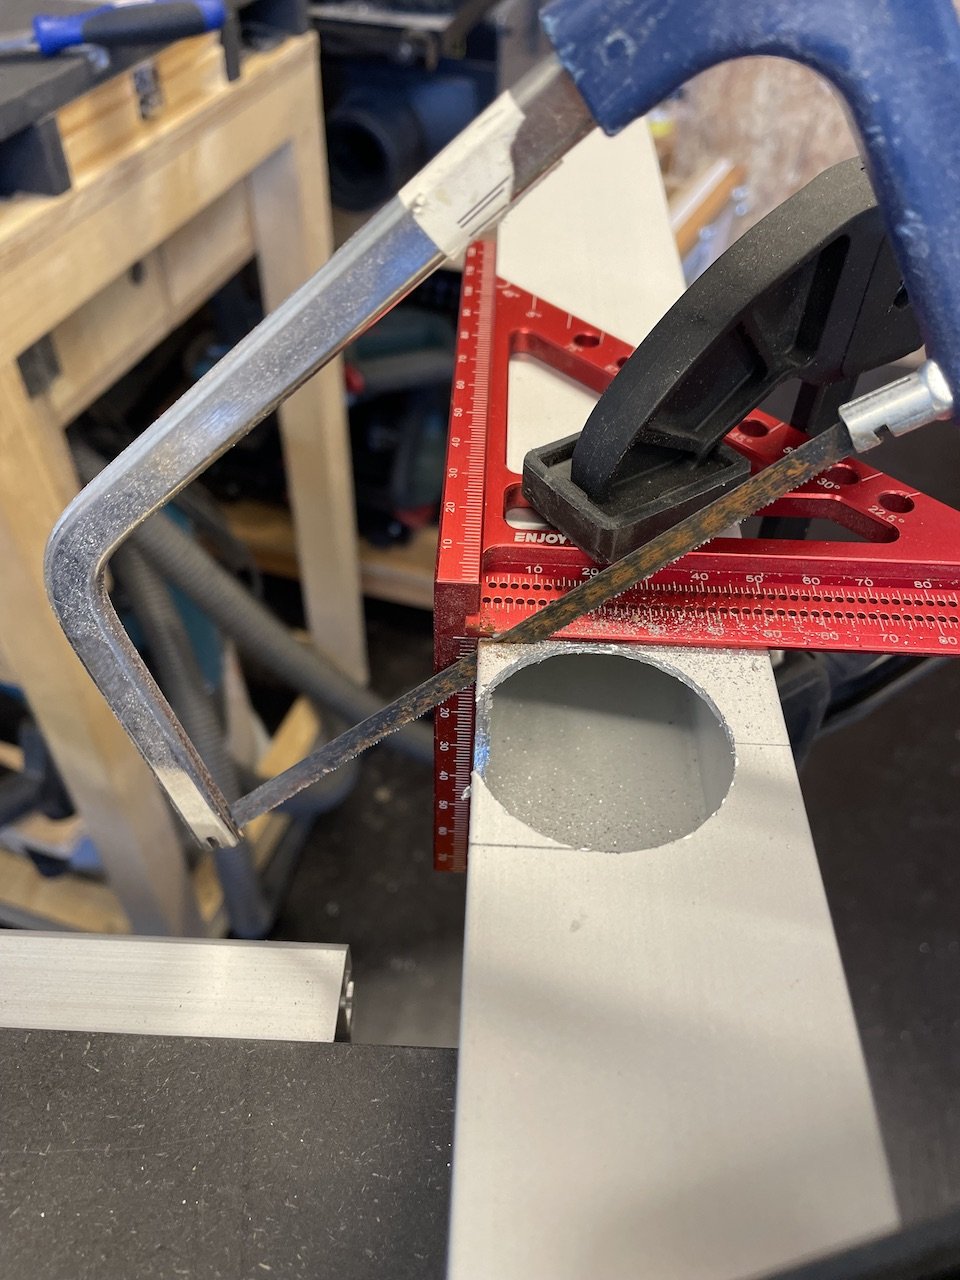

For the router bit gateway I opted for a 40mm width—sufficient for my current bit collection. Creating this opening involved precision drilling followed by careful handsaw work to connect the holes.
Two 50mm strips of the 30x30mm profile were then screwed to the main tube and connected to plywood hooks, which would later secure the extension to the table saw fence. The aluminum fence profile needed to slide, so I mounted the MDF to the tube first, then used T-track bolts and knobs to create an adjustable "sliding door" arrangement for the bit gateway (aluminium fence profile cut in half).


The Final Connection
Attaching the extension to the table saw fence proved remarkably straightforward. The plywood handles grip securely, creating a rock-solid connection. When not in use, the entire assembly tucks neatly into the table saw stand's shelf, finding a happy home among its workshop companions.
Stay tuned for our next installment on the extended dust collection—because a clean workshop is a happy workshop!