Living in the countryside, or "en campo" as we call it in Spain, simplifies many things, while others rank higher in importance than they would in urban living. One thing that turns out to be crucial here is the right footwear.
We live not only en campo, but also in the mountains. The terrain is pretty rough, even in our garden, so the right shoes are critical. We could simply put on our light hiking shoes as an all-day solution, and I do this sometimes. However, I'm really of the "no shoes" fraction. :) Around the house this is fine, but the garden is different. We have slopes, edgy stones, ants, and very spiky weeds. Even flip-flops have a reduced lifecycle of anywhere from a few days to a maximum of a few weeks, no matter how rigid they are.
Why am I telling you this? Well, instead of wearing hiking shoes all day, my wife and I change shoes frequently throughout the day. And where do they land? Somewhere... ;)
Yes, we have a shoe shelf, which is too small. We also normally sit somewhere on the stairs to change shoes. So what could be a rewarding project to build? Right—a bench with shoe shelves underneath.
Design Approach
Priority number one is practicality, second is rigidity, but then there's also design, looks, and material. I looked around the workshop and two materials came to mind: the black MDF which I use a lot for my workshop projects, and this fine oak plywood, normally used when building out boats.
I thought it would be nice to go screw less, combine two types of material, and make it rock solid while elegant. I really liked the idea of using strips of both materials and combining them in a modern, yet rustic way.
The sides, which would also serve as the legs, would be made of alternating strips of black MDF and oak ply. Both materials are 19mm thick. The dimensions of the bench are 70 x 44 x 29 cm, which provides sufficient extra space for shoes on two shelf levels, as well as comfortable seating.
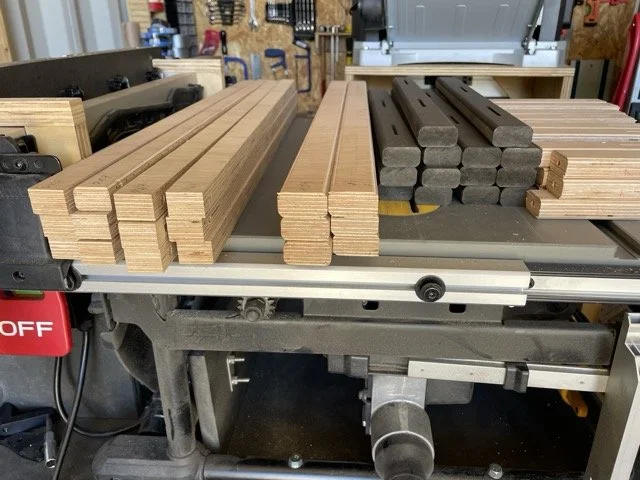
I used the table saw to cut the material into strips:
Black MDF strips: 35mm wide, 44cm long
Oak strips for the sides: 35mm wide, shorter than the MDF
Oak strips for the shelves: 25mm wide, 70cm long
Oak strips for the seating surface: 35mm wide, 70cm long
Assembly Process
After cutting all strips to size, I did a first dry assembly of the bench using clamps. Now I needed to figure out how to join all the parts together. Remember, my goal was to achieve all joinery without screws. The strips that make up the sides would be joined with flat dowels, while the edge joints of the shelf strips into the sides would be done with normal round dowels. While the black MDF strips form the base of the sides, the joinery of the oak strips for the seating surface and the shelves was accomplished by a type of mortise where the strips join into the sides.
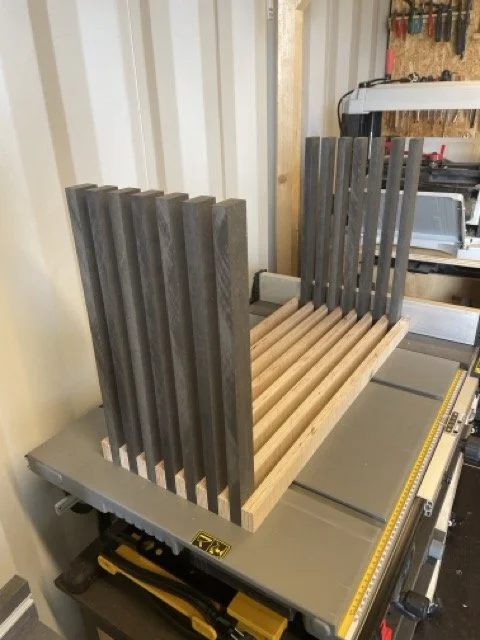
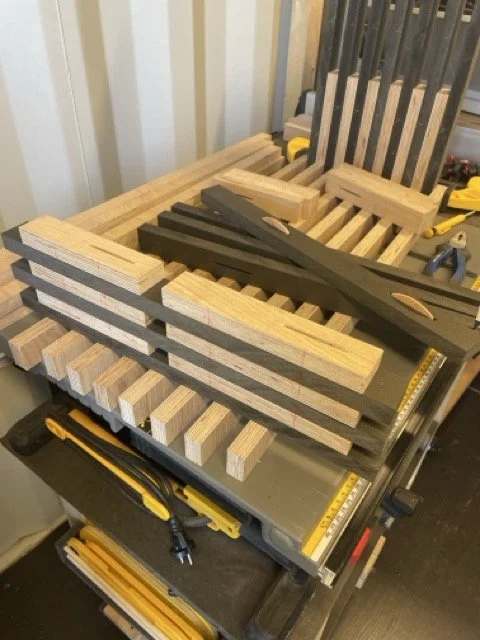
I tested both connections first. Although I was happy with the strength of the joints, I quickly realized that I needed to create templates for making the holes precise, for both flat and round dowels. To place the dowels accurately, I marked placements for them during the dry assembly, which I highly recommend with so many parts in play—60 strips of wood in total.
Then I cut the holes for the flat dowels for the first side of the bench. I'm using the Makita DPJ180 18V cordless biscuit joiner, and I'm very happy with this tool. Top quality and very precise. Small downside: the on/off switch, which I personally perceive is not very ergonomic. With the template mentioned above, the positioning of the holes was very precise. The dry assembly showed a perfectly flat surface.
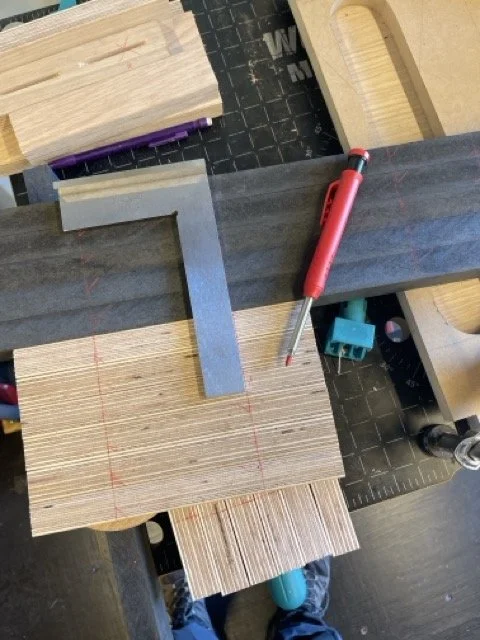
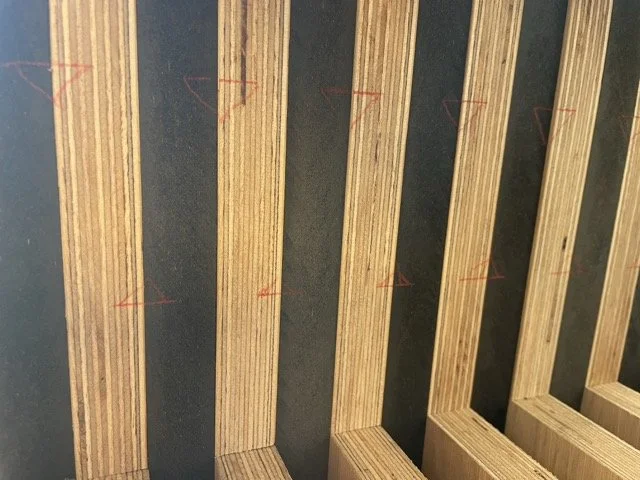
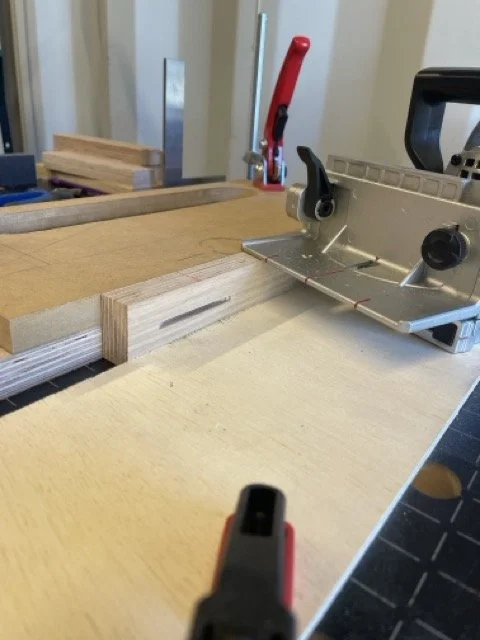
Next were the joints connecting sides and shelf strips. Here too, a template for dowel placement was mandatory. Additionally, I realized during dry assembly that I needed to follow a sequence when eventually gluing all parts together. These corner joints need to be glued first. Here my ninety-degree corner clamping jigs came in handy to ensure a perfectly rectangular result. Only as the final steps would the bench be glued together in slices.
An Unexpected Pause
But I'm getting ahead of myself. About this time was when I needed to undertake surgery on my hand. I did not manage to finish the project before. I felt depressed that I was stuck, but also that my blogging got a forced pause. Not that I have a huge audience, but I really like the documentation following the spirit I once ran my software company on. Not documenting means knowledge and inspiration for the community is likely to be lost.
The recovery of my hand took much longer than I had hoped for, and when I came back to the workshop I had new ideas, but this bench was blocking my workshop. I did not dare to remove the templates, just in case I would make a mistake and needed to reproduce any pieces. For about two months I moved the bench around in my tiny workshop until my level of frustration about it turned into motivation again.
Also the visit of a dear friend helped me here. She wanted to see my workshop and I felt so bad that I had a project here that was not moving forward. After the spark for finishing the project was reignited by showing and explaining it to our friend, I saw the bench in new light. I wanted to make it even more beautiful.
Finishing Touches
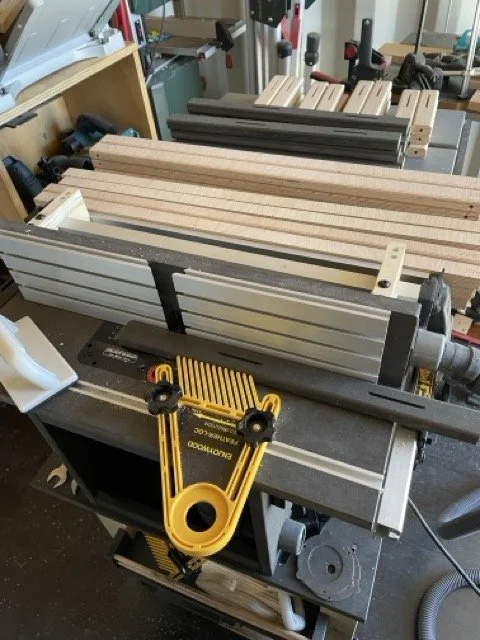
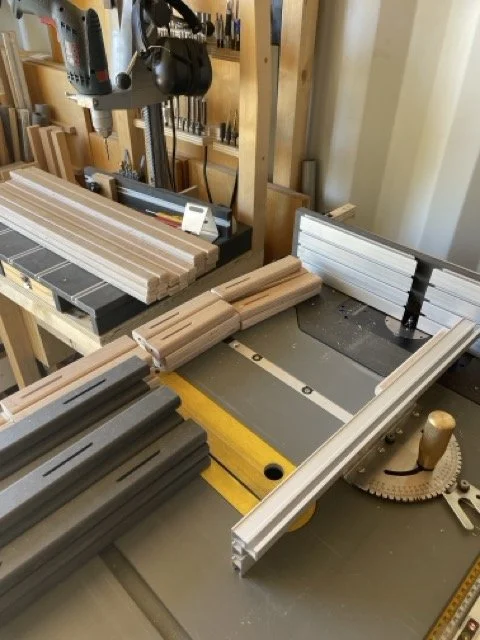
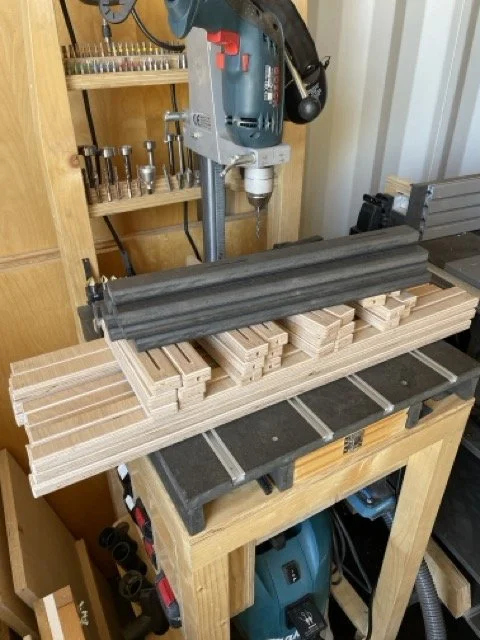
So I decided to round all edges with the router. Fortunately I was able to get the router extension for the table saw up and running. With a feather board, a quick and simple template was created to run all the strips through the router. What a joy. For the small edges I used the miter sled for a secure and precise pass through the router.
Another dry assembly, and what can I say, nice :). The rounded edges made a huge difference in touch and appearance.
Last but not least, the bench needs some sort of "footwear," because the materials used will start to tear out quickly when moved around on our terracotta floor. After pondering various options, I eventually opted for four strips of oak ply connected solidly with round dowels. The feet lift the bench up slightly, adding elegance and also allowing dirt from the shoes to fall through and be easily cleaned under.
Not least, the bench got a nice oiling and polishing, bringing out depth of the materials and providing a beautiful finishing touch.
The Result
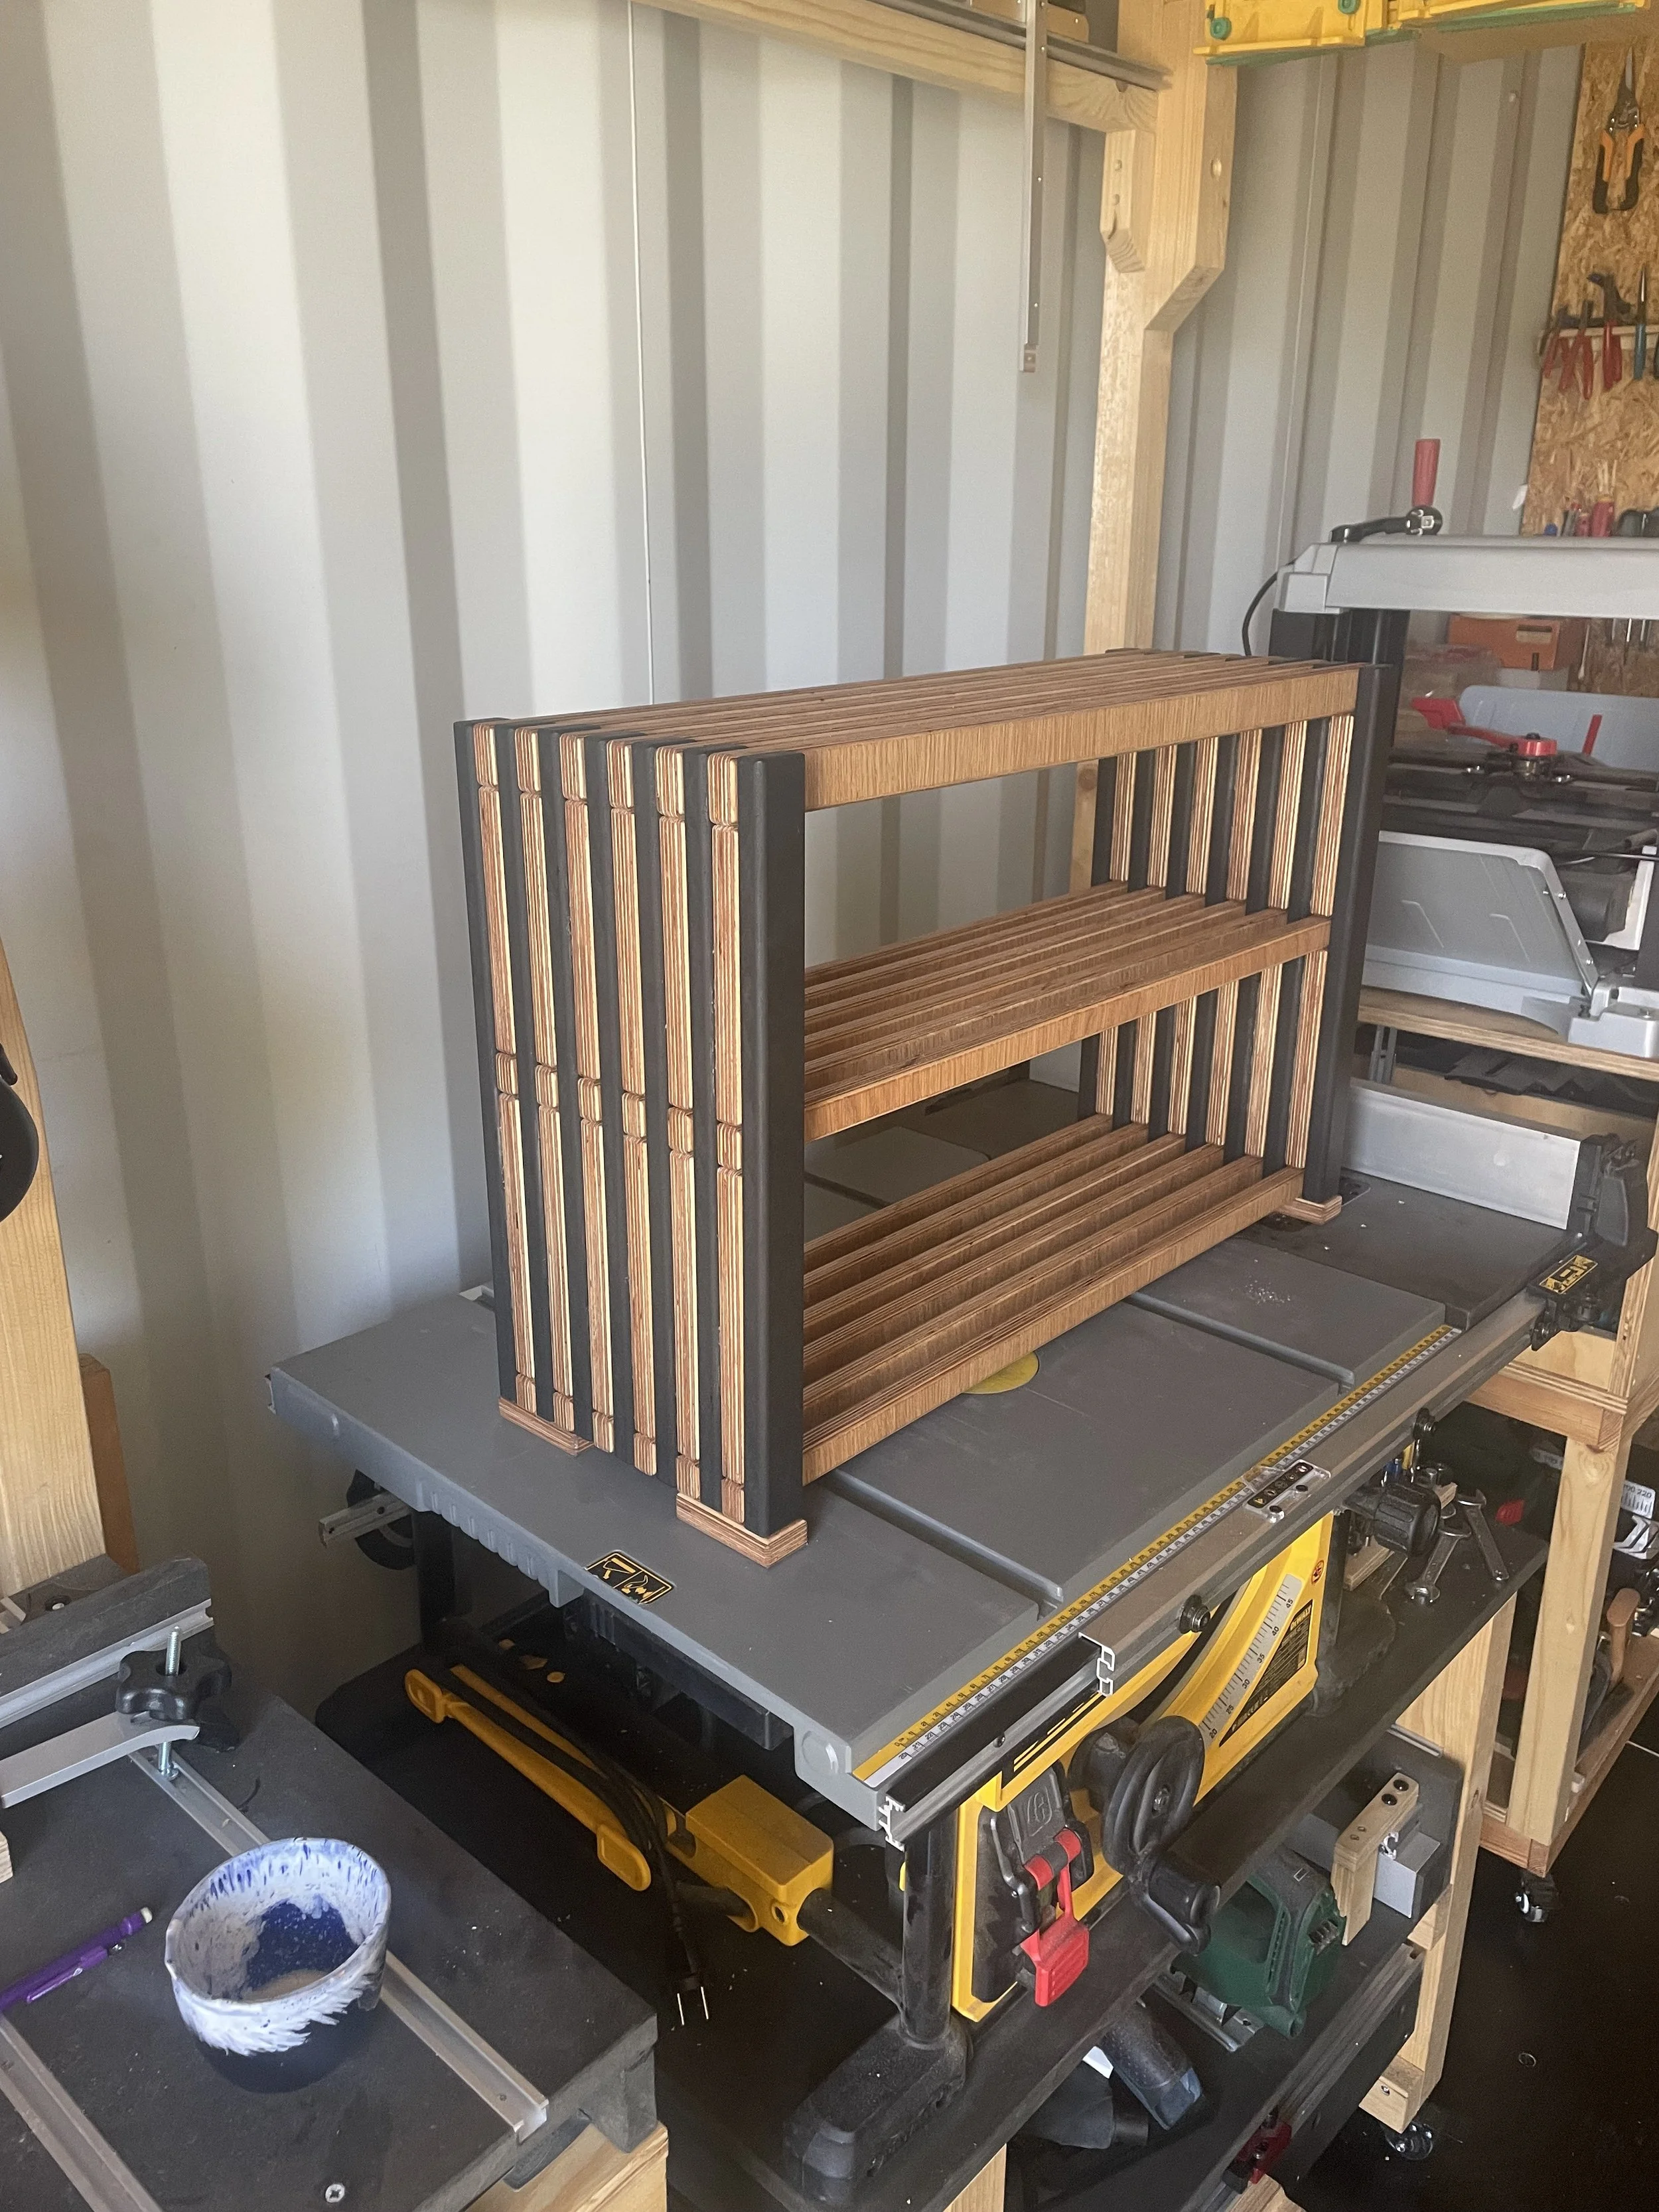
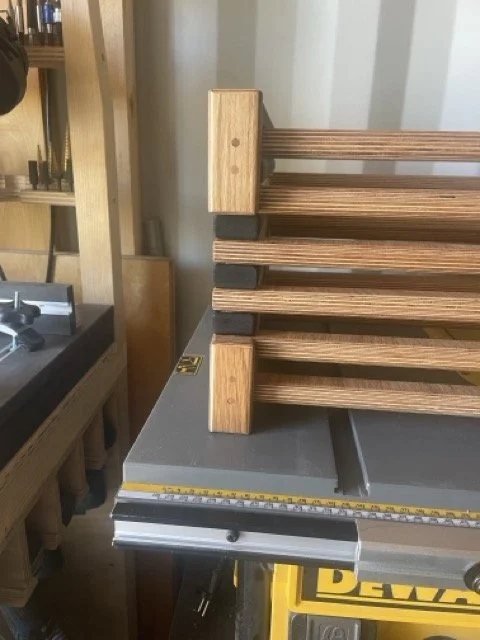
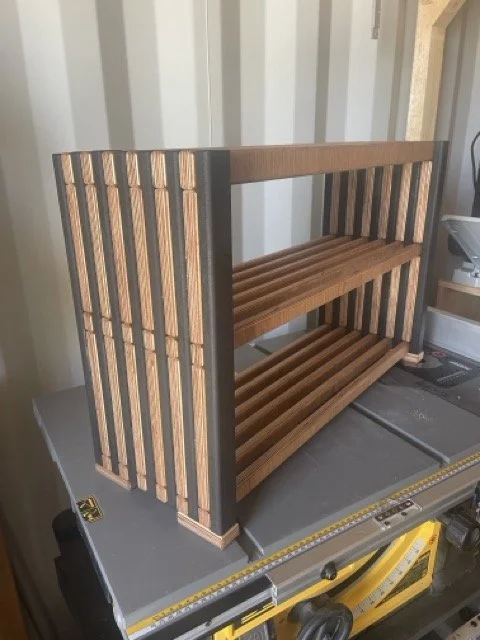
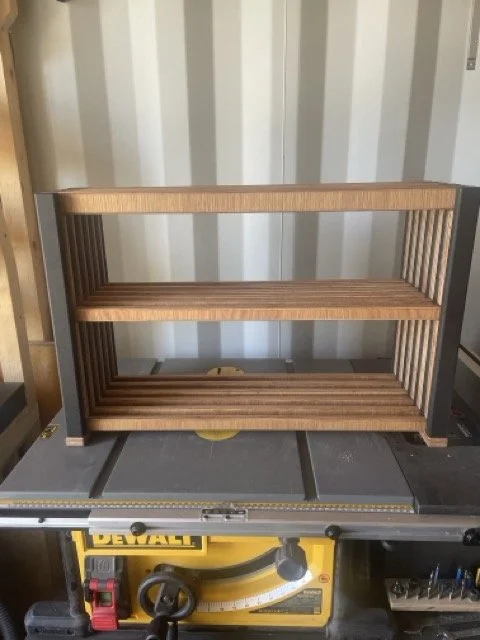
The day the bench found its way into our casa, it seamlessly became an indispensable item, and we enjoy changing shoes here every day. Beyond serving the practical purpose of storing shoes, it immediately catches the eye of visitors who love the design. Many are stunned by how solid it is despite its rather sleek appearance.